How to Watermark Photos
How to watermark photos: text vs logo marks, placement and opacity settings, tiled patterns for previews, a batch workflow and what watermarks can't do.
To watermark a photo, place your name, website or logo on top of the image at reduced opacity, positioned where it is hard to crop out but doesn't hide the subject. For portfolio and social posts a small corner mark is usually enough; for client proofs and stock previews a repeating tiled pattern across the whole image works better. Always watermark copies and keep your originals untouched.
Why watermark photos at all?
A watermark does two jobs. It credits you when an image is shared beyond your own page, and it makes casual reuse less attractive, because the mark travels with the picture. It cannot prevent determined copying, which is covered further down.
Different situations call for different strengths:
| Use | Goal | Typical approach |
|---|---|---|
| Instagram, portfolio, blog | Credit without distraction | Small text or logo in a corner, 40–60% opacity |
| Product photos on marketplaces | Branding and some deterrence | Logo near a corner or along an edge, check the marketplace's rules first |
| Client proofs before payment | Prevent use of unpaid images | Larger centred or tiled mark, 30–50% opacity |
| Stock and licensing previews | Make the preview unusable as a final image | Tiled diagonal pattern over the whole frame |
Some marketplaces restrict watermarks or logos on main product images. Check the seller guidelines of the platform you use before branding every listing photo.
Text watermark or logo watermark?
A text watermark is the quickest option: your name, studio name, handle or web address, often with a © symbol. It is easy to read, needs no design work and can be changed per project. Choose a clean typeface and avoid long phrases; "© Ana Ruiz Photo" works better than a full sentence.
A logo watermark looks more polished and reinforces a brand, but it needs a good source file. Use a PNG with a transparent background or an SVG, so you don't get a white box around it. A one-colour white or black version of the logo usually reads better on photos than a full-colour version.
You can also combine them, for example a small logo in one corner and a web address in another. The watermark tool supports text, a logo, or both on the same batch.
Where should a watermark go?
Placement is a trade-off between protection and how much the mark disturbs the picture.
- Corners are the least intrusive, but also the easiest to crop. Bottom-right is conventional; any corner works.
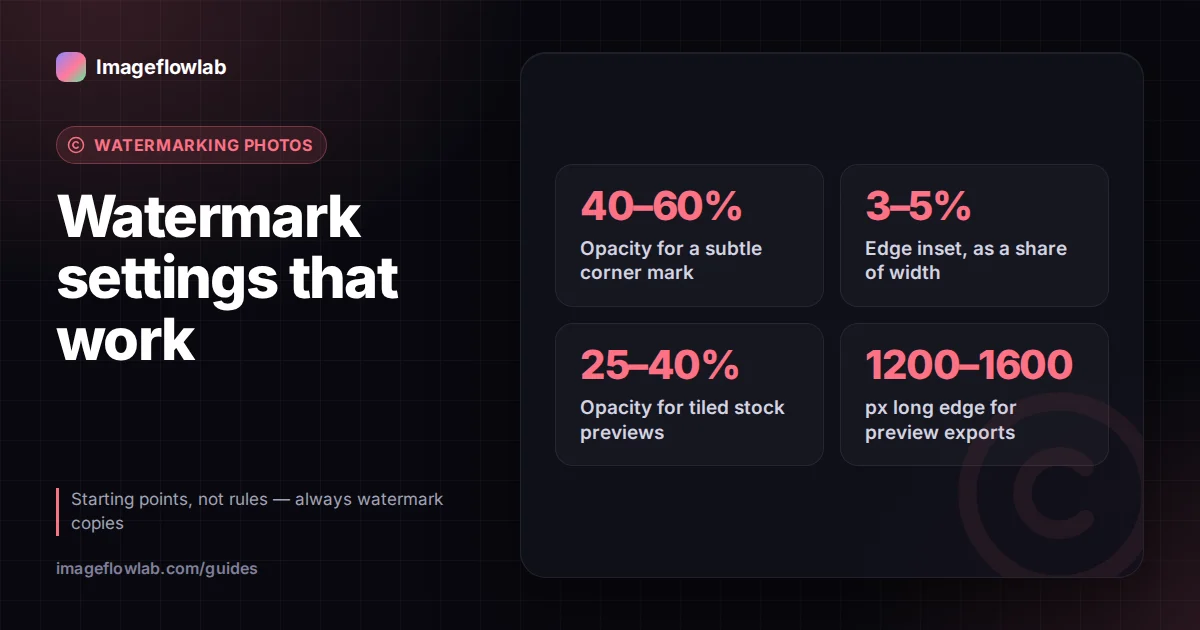
- Inset from the edge. Moving the mark a few percent inwards means a thin crop no longer removes it. An edge margin of 3–5% of the width is a good start.
- Over the subject's edge makes removal harder, because cloning it away means rebuilding part of the subject. Avoid covering faces or the product's key detail.
- Centre is the strongest single position, normally reserved for proofs.
- Tiled repeats the mark across the whole image, so there is no clean area to crop to.
What opacity and size work best?
There is no single correct value, but these starting points are reliable:
| Style | Size (share of image width) | Opacity |
|---|---|---|
| Subtle credit | 3–5% text height, or a logo 10–15% wide | 40–60% |
| Visible branding | 6–8% text, or a logo 15–25% wide | 60–80% |
| Proof or preview | Large centred mark or tiled pattern | 25–50% |
Setting size as a percentage of width, rather than in pixels, keeps the mark looking the same across a mixed batch. On a 6000 px wide camera file a 5% text size is about 300 px tall; on a 1080 px phone export it is about 54 px. Both look proportionate.
White text with a soft shadow stays readable on both bright skies and dark shadows. Pure black or white without a shadow tends to vanish on matching backgrounds.
How do tiled watermarks work for stock previews?
A tiled watermark repeats your text or logo in a grid, usually rotated diagonally, across the entire photo. Because every region carries part of the pattern, cropping is useless and removing it by hand takes far more effort than a single mark.
- Use a short mark, such as your brand name or "PREVIEW".
- Rotate it around −30° to −45°, so it crosses the horizontal and vertical lines in the photo.
- Lower opacity to roughly 25–40%, so buyers can still judge the image.
- Adjust spacing until the pattern covers the frame without becoming a solid texture.
- Export previews at a reduced size, for example 1200–1600 px on the long edge, so the preview file itself has limited value.
For the last step you can resize first with the image resizer and then apply the tiled mark.
A batch watermarking workflow
When you watermark dozens of photos at once, a repeatable process avoids mistakes.
- Copy, don't overwrite. Export finished edits to a new folder. Never watermark the only copy.
- Group by purpose. Portfolio images, client proofs and stock previews each get their own settings.
- Design on one representative photo. Pick a photo with a busy or light area where the mark sits, then tune size, opacity and position until it reads well there.
- Preview a few extremes. Check a portrait and a landscape, and a dark and a bright photo, before running the whole batch.
- Run the batch. The Add Watermark to Photo tool processes up to 50 JPG, PNG or WebP images per batch in your browser and lets you download them as a ZIP.
- Name the output clearly. Rename watermarked files with a suffix such as -web or -proof so they are never confused with originals. A bulk renamer helps with large sets.
Re-encoding during watermarking strips EXIF metadata such as GPS location, which is often welcome for images you publish. If you want to keep copyright information in the file, add it to your originals and keep those for licensing requests.
What watermarks can't do
Be realistic about protection. A visible watermark is a deterrent, not a lock.
- They can be removed. Cropping removes corner marks, and modern editing and AI inpainting tools can erase many watermarks convincingly, especially small ones over plain backgrounds.
- They reduce the image's appeal. A heavy mark on every portfolio image can put off clients who want to see your work clearly.
- They are not a legal requirement. In many countries, copyright exists automatically when you create a photo, with or without a watermark. Rules differ by jurisdiction, so check with your national copyright office for specifics.
- They are permanent on the copy. Once you save a watermarked JPG, the mark is part of its pixels. Keep the unwatermarked original so you can deliver clean files or re-export with a different mark.
Frequently asked questions
Summary
A good watermark balances credit and protection: a small corner mark for sharing, a centred or tiled mark for proofs and previews. Set size as a share of the image width, keep opacity moderate, inset it from the edges, and always work on copies. When you're ready to process a set, open the watermark tool, design the mark once, and export the whole batch.